Brush care is essential in extending the life of your makeup brushes and keeping your complexion clear. Unwashed brushes contain oil, dead skin cells, dust, bacteria, old makeup, and other nasty grime that can cause breakouts, discolor your products, break down your brushes, and worst of all… infect your makeup! Eek!
Spot Cleaning
It’s best to spot clean after each use. This prevents makeup buildup (which causes color transfer into other products) and gets rid of dirt, skin cells, or bacteria picked up in the application process. Spot cleaning is a lot quicker than a full blown deep cleaning and a lot less laborious.
How to spot clean:
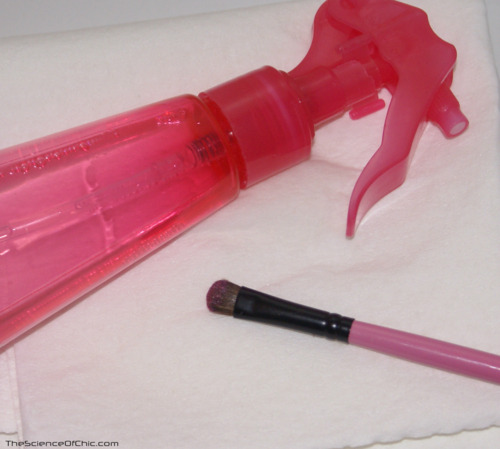
You will need a durable paper towel or rag, brush spot cleaner (click HERE for a cheap and easy DIY spot cleaner), and dirty brushes
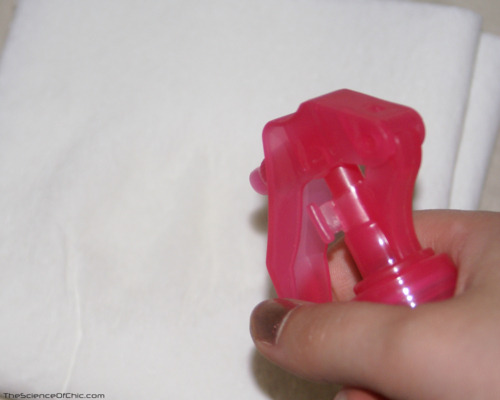
1. Take your rag or paper towel and spritz a few sprays of spot cleaner on it.
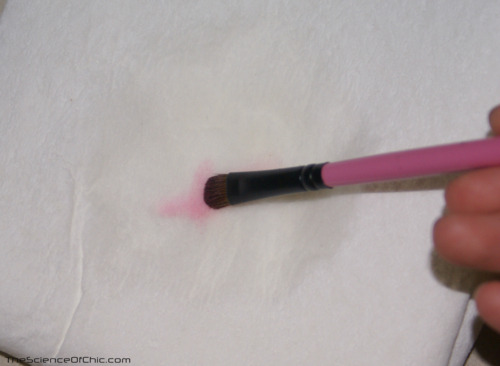
2. Take your dirty brush and gently swipe the brush back and forth over the damp area. Being gentle is key because you can disfigure the bristles if you’re too rough with them. Continue with this motion until the brush no longer releases color.
Deep Cleaning
Deep cleaning takes much more time than spot cleaning and also takes your brushes out of action for a pretty good chunk of time as they dry. Deep cleaning your brushes also removes grime or makeup buildup that spot cleaning can’t. There are several different solutions that can be used in deep cleaning brushes, but I prefer to use baby shampoo because it is gentle on the brush hairs and it gets the job done.
How to deep clean:
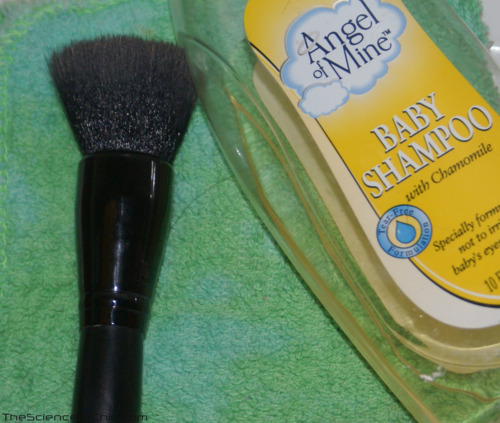
You will need a deep cleaning solution (baby shampoo is the one pictured), your bathroom sink, a towel or washcloth, and dirty brushes.
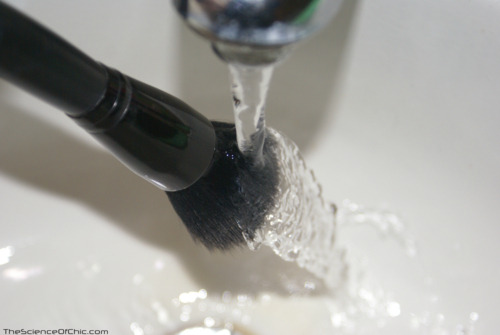
1. Wet the brush by running it under the sink tap. Make sure that the brush it pointed almost all the way down so no water enters the ferrel.
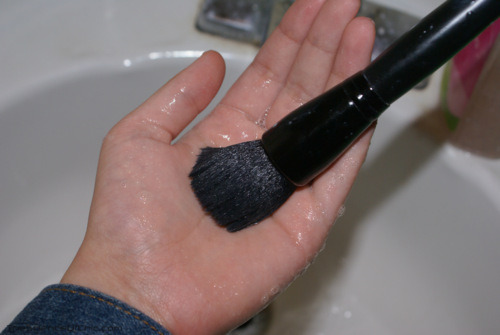
2. Put a small dab of the cleaning solution on your hand and in gentle circular motions start rubbing the brush in it. Don’t press too hard on the brush because that can allow your solution to go up into the ferrel and dissolve the glue. You should see the suds turn into whatever color makeup you had on that brush.
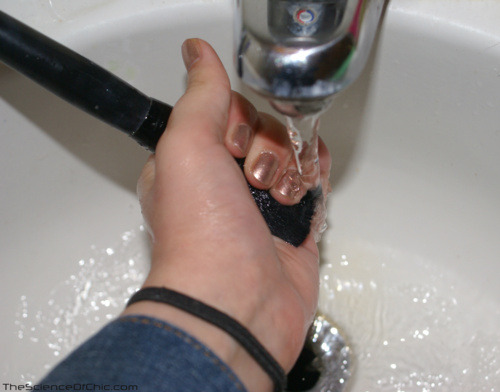
3. Rinse off the suds in the downward position, lightly squeezing the brush if need. Make sure that you get all of the cleaning solution out. This can take several rinses depending on the brush.
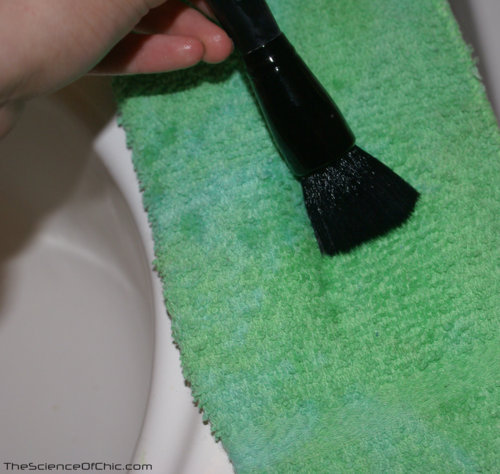
4. Dry off your brush by using a gentle back and forth motion on the towel or washcloth and reshape the brush (or use a brush guard if you have them).
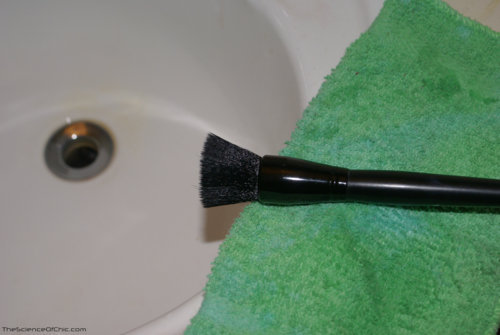
5. NEVER set your brushes out to dry in an upright position; it will destroy the glue that keeps the brush together. Drying the brush upside down is optimal, but letting the brush sit on its side on the towel works as well.
It should take several hours for the brushes to dry (especially face brushes) so it’s best to deep clean in the evening and let them dry overnight.


0 comments:
Post a Comment