Brush Washing 101

Wednesday, April 25, 2012

Brush care is essential in extending the life of your makeup brushes and keeping your complexion clear. Unwashed brushes contain oil, dead skin cells, dust, bacteria, old makeup, and other nasty grime that can cause breakouts, discolor your products, break down your brushes, and worst of all… infect your makeup! Eek!
Spot Cleaning
It’s best to spot clean after each use. This prevents makeup buildup (which causes color transfer into other products) and gets rid of dirt, skin cells, or bacteria picked up in the application process. Spot cleaning is a lot quicker than a full blown deep cleaning and a lot less laborious. 
How to spot clean:
image
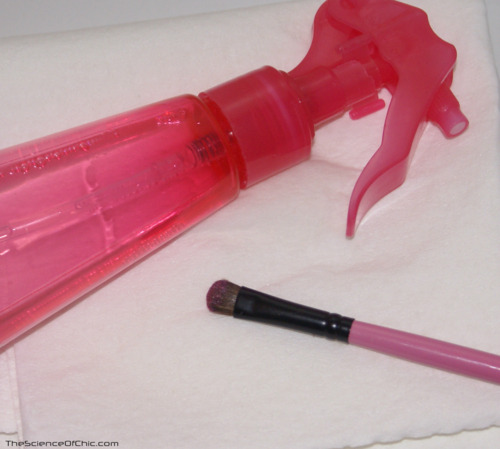
You will need a durable paper towel or rag, brush spot cleaner (click HERE for a cheap and easy DIY spot cleaner), and dirty brushes
image
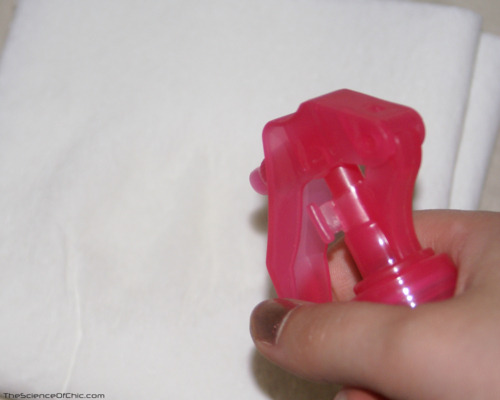
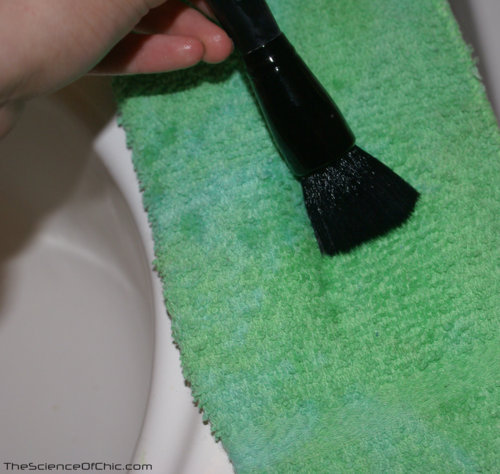
1. Take your rag or paper towel and spritz a few sprays of spot cleaner on it.
image
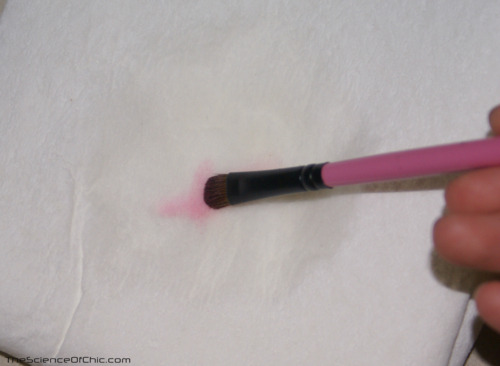
2. Take your dirty brush and gently swipe the brush back and forth over the damp area. Being gentle is key because you can disfigure the bristles if you’re too rough with them. Continue with this motion until the brush no longer releases color. 
Deep Cleaning
Deep cleaning takes much more time than spot cleaning and also takes your brushes out of action for a pretty good chunk of time as they dry. Deep cleaning your brushes also removes grime or makeup buildup that spot cleaning can’t. There are several different solutions that can be used in deep cleaning brushes, but I prefer to use baby shampoo because it is gentle on the brush hairs and it gets the job done. 
How to deep clean:
image
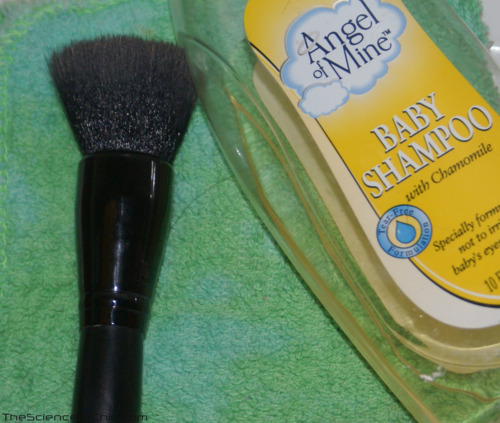
You will need a deep cleaning solution (baby shampoo is the one pictured), your bathroom sink, a towel or washcloth, and dirty brushes. 
image
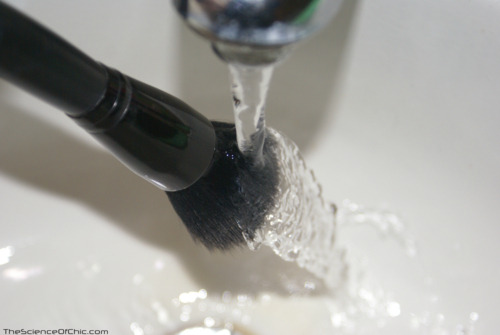
1. Wet the brush by running it under the sink tap. Make sure that the brush it pointed almost all the way down so no water enters the ferrel. 
image
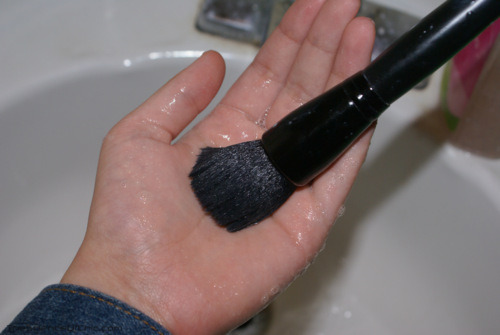
2. Put a small dab of the cleaning solution on your hand and in gentle circular motions start rubbing the brush in it. Don’t press too hard on the brush because that can allow your solution to go up into the ferrel and dissolve the glue. You should see the suds turn into whatever color makeup you had on that brush. 
image
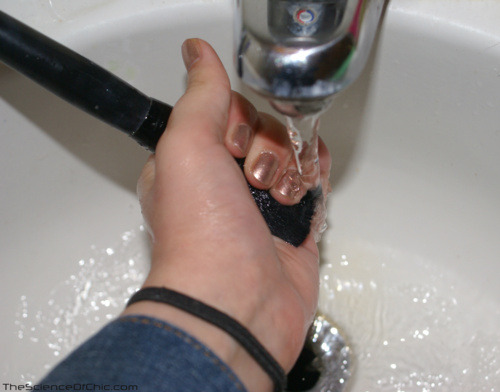
3. Rinse off the suds in the downward position, lightly squeezing the brush if need. Make sure that you get all of the cleaning solution out. This can take several rinses depending on the brush. 
image
4. Dry off your brush by using a gentle back and forth motion on the towel or washcloth and reshape the brush (or use a brush guard if you have them).
image
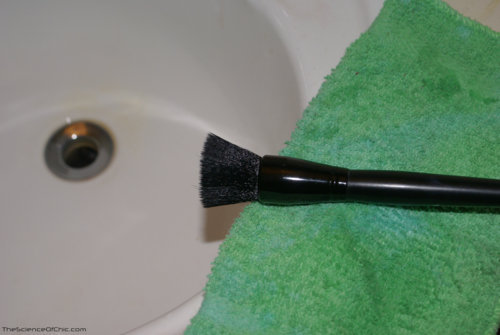
5. NEVER set your brushes out to dry in an upright position; it will destroy the glue that keeps the brush together. Drying the brush upside down is optimal, but letting the brush sit on its side on the towel works as well. 
It should take several hours for the brushes to dry (especially face brushes) so it’s best to deep clean in the evening and let them dry overnight. 

Skin Types 101

Friday, April 20, 2012
Knowing your skin type helps you determine what kind of products you need for skin care and also cosmetics. Your skin type dictates which skin care products to buy will help you maintain or achieve clearer skin or an improved complexion. Skin type also plays a very important role when it comes to foundation or other "face makeup" since there are so many different kinds which can either make or break your appearance.

Skin types can also change with the seasons so keep in mind that your Winter skin care routine may not work for your skin in Summer, and if this is the case you will need to be able to spot the differences and adjust your routine accordingly to prevent unsavory skin.

There are 5 main skin types: normal, dry, oily, combination, or sensitive, although it is possible to have sensitive normal, dry, oily, or combination skin. 

How do I determine my skin type?

Normal:
  • People with normal skin tend to have an even complexion (lucky!) with small pores, a surface that isn't too oily or too dry, and few breakouts. People with normal skin are lucky enough to have the least problematic skin (therefore the least intensive skin care) and with it being so supple it ages well too. 
Dry:
  • People with dry skin tend to have a somewhat ruddy complexion with pores that are barely visible, has flaky areas (such as the cheeks, chin, or around the nose), and a dull appearance. Dry skin is more prone to wrinkles than other skin types and may cause some irritation. This skin type needs special attention when it comes to moisturization in order to replenish the skin.
Oily:
  • People with oily skin tend to have a sheen to their face with prominent pores, and frequent acne or blemishes. Oily skin also becomes shiny much faster than the other skin types and requires special attention with mattifying products if you want to keep the shine away. Contrary to what you would think, oily skin requires gentle and careful cleansing since harsher products will stimulate the skin to produce more oil. 
Combination: 
  • People with combination skin tend to have an oily T-zone (forehead and nose to chin) with possibly dry patches, more noticeable pores and breakouts on the T-zone. Since combination skin has a mixture of skin types, skin care can be a bit tedious since the oily parts need gentle cleansing and the dry parts (if you have them) need moisturizing products. 
Sensitive:
  • People with sensitive skin can have a blotchy complexion with delicate skin, dryness, and the tendency to react with products or become easily irritated. Sensitive skin is the most problematic and needs very a very specific skin care routine with products that won't irritate or inflame the skin.  

Undertones 101

The word "undertone" is a little self explanatory. Your undertone is the underlying tone to your skin which can either be warm, cool, or neutral. Your undertone will always stay the same no matter how tan or pale you get during the changing seasons.

Knowing your undertone is important when it comes to makeup. Why? If you get a product that is the opposite of your undertone it will look a bit off. Sticking to products that compliment your undertone is the best way to play it safe in the world of cosmetics. 

Cool undertones are categorized by a pink, red, or blue hue to the skin. 

Warm undertones are categorized are categorized by a yellow or golden hue to the skin.

Neutral undertones are a mixture of both warm and cold undertones and are categorized by an olive hue to the skin. 

How do I determine my undertone?

There are several easy tests you can do by yourself, but if the ones mentioned below don't yield any definite results there is still the option of going to a makeup counter, a Sephora, or a Makeup Artist.

The quickest, easiest, and most reliable method of finding your undertone is doing the "vein check". Take a look at the veins in your wrist. If the veins appear blue, you are cool toned. If the veins appear green, you are warm toned. If you can't clearly distinguish if your veins are blue or green, you're probably neutral. 

The next way of figuring out your undertone is also simple. Do you look better in pure white or cream/ivory. If you look better in pure white, you're cool toned. If you look better in cream or ivory, you're warm toned. This may prove to be frustrating to pinpoint if you have neutral undertones.

The last way of finding out your undertone is determine if gold or silver compliment your skin. Silver is cool toned so it looks better on cool toned skin. Gold is warm toned so it looks better on warm toned skin. Neutral skin can wear either metal. 
Powered by Blogger.
Back to Top